1
/
of
6
My Store
NES / Famicom Classic Mini - Internal Storage Mod PCB For FTM-NES boards
NES / Famicom Classic Mini - Internal Storage Mod PCB For FTM-NES boards
Regular price
$10.99 USD
Regular price
Sale price
$10.99 USD
Unit price
/
per
Couldn't load pickup availability
NES / Famicom Classic Mini - Internal Storage Mod PCB For FTM-NES boards
This board, when soldered onto the mini's motherboard, allows for an Micro SD card to be used as extra storage to be used with the program Hakchi2 CE.
Soldering Intructions: (FTM-NES has the soldering points on the top side of the board.)
- - Align the pcb board to the soldering points on the board (see picture with the red circle). The points are located at the topside of the main board when you open your mini. Each hole should align to each point that needs to be soldered.
- - Secure the board with kapton tape so it does not move. You can apply a bit of flux to each hole at this point.
- - Solder in the larger holes first by filling them in and making sure they get properly heated.
- - Fill in the remaining smaller holes while making sure they properly adhere. Once finished, double check your work. Go over each hold again by leaving your iron in each to let the solder bond with the point. Take your time.
- - Once finished, insert a microsd card of your choice (image shows a 128GB MicroSD Card as an example).
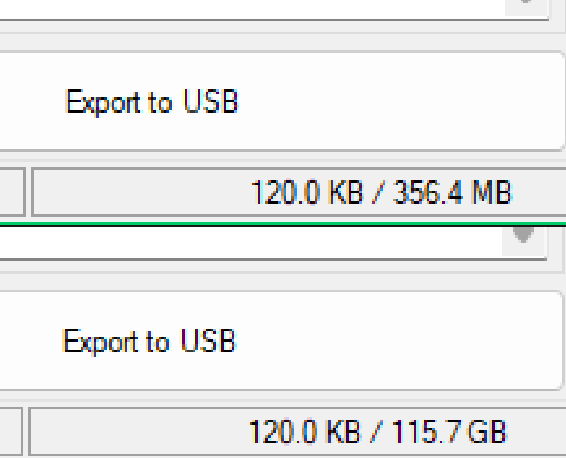
- - On Hakchi2 CE, select Tools > Format SD. Your mini will reboot and show your newly alloted storage if everything went well. (If at this point you get a message from Hakchi saying no SD card is inserted, you did not apply enough heat to the soldering points to let the points bond to the board. Touch up your soldering and allow the iron to sit in the solder for a bit to let the points bond).
- You can sync directly from here without needing to remove the MicroSD card from your mini.
If you don't have a FTM-NES board in your mini/classic, you most likely have a FTM-SHVC board. Please check the product page to find the storage board for SHVC minis.
Share