1
/
of
6
My Store
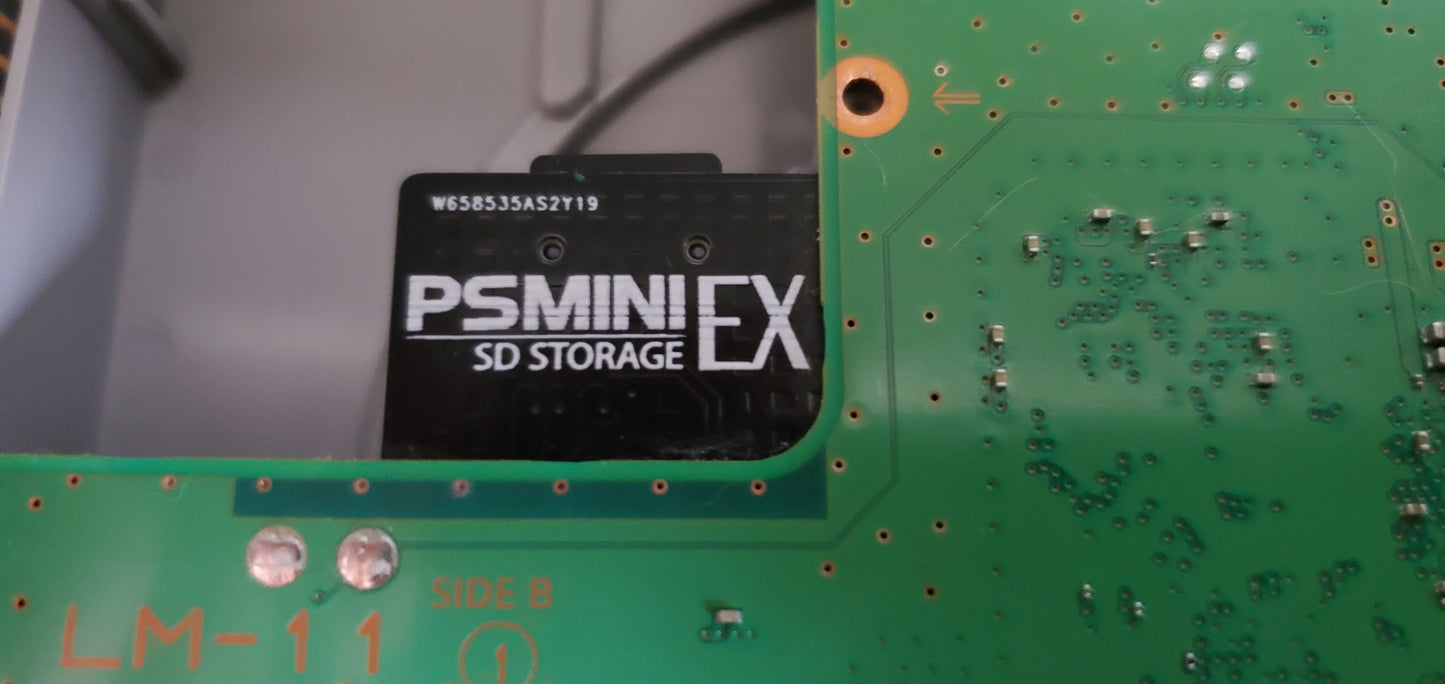
PS Mini SD Storage EX - Playstation Classic Mini Internal Storage Mod Board
PS Mini SD Storage EX - Playstation Classic Mini Internal Storage Mod Board
Regular price
$19.99 USD
Regular price
Sale price
$19.99 USD
Unit price
/
per
Couldn't load pickup availability
PS Mini SD Storage EX - Playstation Classic Mini Internal Storage Mod Board
This storage mod allows you, once installed, to use custom content on your Playstation Classic Mini using either Project Eris or Autobleem. Please refer to their respected guides on how to add custom content for either.
The installation itself is an ADVANCE installation. This installtion involves lifting the middle legs of the 2nd USB port that can potentially rip the pads off if done incorrectly by not applying enough heat or taking your time with it. You can also potentially have the incredibly tiny resistors near the port slide off if you're not careful with your iron.
If you've ever done a USB mod on a PSC, then this will be familiar to you.
I ask that you MUST have:
- A decent soldering iron along with a soldering iron tip cleaner to keep your work clean.
- Flux
- Kapton Tape
- A way to magnify what you are doing such as a magnifying glass or a digital microscope. You will be working with small parts.
- Good solder and soldering Paste. I found using Soldering PASTE for this installation to be easier.
With all that said, here are the instructions:
Board Installation Instructions:
1: I recommend you flash your console with Project Eris first before beginning the installation. You are allowed to use either Project Eris or Autobleem while having your console flashed with Project Eris. This will give you the choice to choose what you like best later.
2: Unscrew the console shell.
3: The 2nd USB port has adhesive on the pads. Dissolve the adhesive using isopropyl alcohol and scratch it off the usb pads/legs using your tweezers.
4: Before you can install the board you will need to lift the middle two legs of the usb. This is the most difficult part of the installation. Add heat to the leg of the usb port to separate the solder off the pad. Use tweezers to move the leg off the pad. TAKE YOUR TIME with this step. You run the risk of ripping the pad if too much force is used without enough heat. Do this for both middle legs of the USB port.
5: Align the mod board to the mounting planes and the four pads on the mod board to the 4 pads of the USB port. Tape down once aligned. Most important is to align the USB pins to the board.
6: Solder the mounting points. Make sure to use enough heat.
7: Solder the USB pins. I recommend solder paste for this step. You can do it with regular solder too, just use a lot of flux. Hold the iron to the pad and let the the solder flow down to the pin.
8: Take one of the wires and solder it to the D- pad on the mod board. Take another wire and solder it to the D+ pad on the mod board. Solder the wires to the USB legs depending on what version of the board you have.
a: If you are shipped a v2.2 mod board: D- pad solders to Leg 3, while the D+ pad solders to Leg 2.
b: If you are shipped a v2.2b or v2.3: D- pad solders to Leg 2, while the D+ pad solders to Leg 3.
9. With the USB ports pointed towards you, You will need remove the bottom leg of the most top right portion of the heat shield in order to let the heat shield sit comfortably on top of the board again. You can trim it or bend it until it breaks off. Please see the second picture.
10. You will want to do a power mod on your second USB port by bridging the two resistors next to the USB port. I've had multiple customers saying the board does not boot into the Project Eris or Autobleem and this is usually due to a lack of power. Please search youtube for "albquerky PS Mini". The timestamp is 5:48.
At this point the installation is complete. If your flashed console files are on a USB, copy them over to a microSD.
--Project Eris cards are formatted to ext4, ntfs or exFAT.
--Autobleem cards are formatted to FAT32.
In both cases, the card needs to be named SONY .
Share